It's no secret that Mike and I love, and I mean L.O.V.E. the holidays! We can get so excited for Halloween and Christmas any time of the year and we may have a mini holiday movie night, even if it's summer. We can't get enough of starting our own traditions and since we have lived away from family for nearly three years we had to do our own thing for each holiday except Christmas.
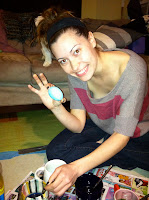
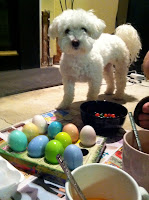
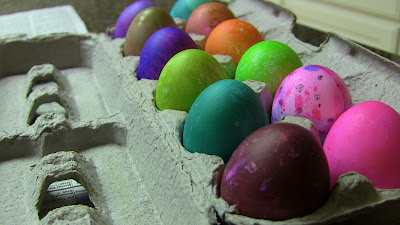
Every year for Easter, we ALWAYS decorate hard boiled eggs. We've been doing this since we were in high school! Last year half of our condo flooded so we ended up coloring our eggs on half concrete flooring and half wood floor. Needless to say, it was unforgettable. We have also created some Easter brunch menu items (some are from our families) which include Cheesy Potatoes, Fruit Kabobs, Spicy Sausage & Feta Fritatta, Bacon or Strawberry Butter and some sort of dessert. You can find these recipes on our Bon Appetite page.
Easter 2011
Easter 2011
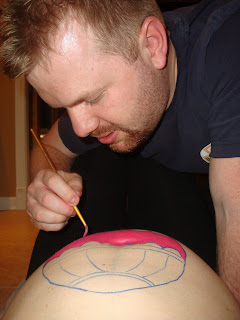
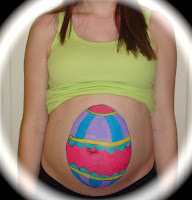
This year is very special to us because it is our last Easter with just the two of us, and Stella of course. We decided to have a little fun with my ever so growing belly and painted it like an Easter egg! We used face paint that I found at Walmart. FYI...if you do decide to paint your preggo belly at all, only use face paint. Acrylic paint is not made for skin and face paint is one of the only paints that are safe. Also make sure you buy descent paint brushes, specially a few different sizes in order to make your art more detailed. One last thing...when you decide to remove the paint use soap and warm water and then use a facial cleanser or makeup remover. It looked like I was going to have a faded pink tattoo until I used my face wash :)
Mike did all the painting while I laid down. He traced an egg shape with a wet erase marker, drew in the details and painted each section. As I watched him draw his template on my belly, I kept checking to see if he was doing a good job. He just looked up at me and said, "Babe, don't worry I'm going to make it look cute. Don't you think I can make a cute egg?" I had to laugh and just let him do his thing. He did a great job!
This year we also tried a different way of dying our eggs. In the past we didn't have a lot of time to prep for our dying eggstravaganza and would use the basic box dying kit. This year we took tips from Martha Stewart using:
1 tsp. white vinegar
1/2 cup boiling water
1 tsp. Gel Food coloring or 20 drops of Liquid Food coloring
1 tsp. Gel Food coloring or 20 drops of Liquid Food coloring
We had an interesting experience with the gel food coloring, it kinda marbled the egg without us even trying. I'm not sure if it just didn't mix well or what.
*I wanted to dye the eggs using Rit Dye until I read their dye is not food safe*
We also used crayons to draw different designs and once the eggs were dry, we placed them on a rimmed baking sheet lined with foil, placed them into a preheated 250 degree oven for 10 minutes and we were able to wipe away the excess wax from the crayons. This is also from Martha Stewart, and it didn't really work for us (Our eggs were already hard boiled).
We will be taking our mini baby-moon trip this weekend and plan on celebrating Easter on Sunday afternoon. We wish you and your family a very Happy Easter and hope you will share some of your Easter traditions with us as well!







0 Comments