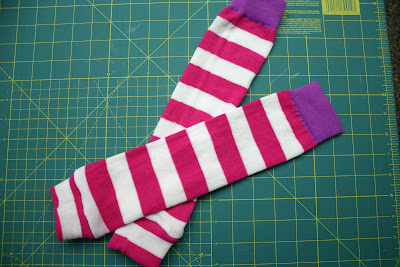
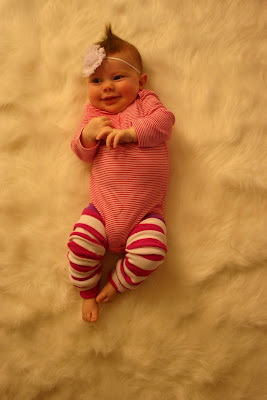
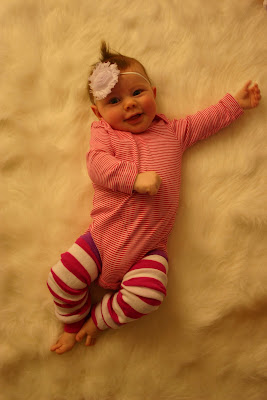
Alright....I have had many, many, many requests for a post on how to make these adorable leg warmers for babies. And as long as you have a sewing machine....they are SOOOO easy!!!
I am totally falling in love with Baby Legs! The first pair I made for Halloween and they are seriously so stinkin' cute! I love them because you can use them for boys or girls. We spent a couple hours on a Saturday making these things (we have it down to less than 10 minutes per pair) and have already shipped some off to friends.
There are many many tutorials out there and some are confusing and some are very simple. I went ahead and created my own tutorial, very well knowing that most baby legs are made this way, but I thought this may make it a little easier for all you mommas out there.
A few things to keep in mind...
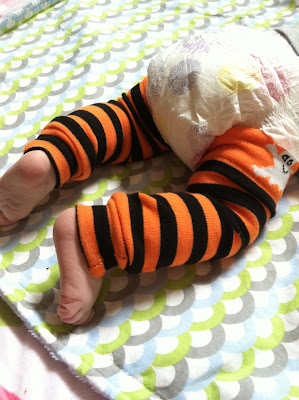
Kensington in her orange & black Halloween Baby Legs.
A few things to keep in mind...
- There are 10 steps for this tutorial, I tried to make the instructions as simple and clear as possible.
- With anything, make sure you read ALL the instructions and once you got it down, these shouldn't take more than 10 minutes.
- These are simply made from girl's, women's or men's long socks. When you buy your socks, be aware of how wide the sock is.....this really isn't that big of a concern, just some socks are a little wider--making them a little bigger on your baby.
- If you find socks that are super long (made to wear with high boots) you will just want to trim the long part of the sock shorter to fit your baby.
Alright so here we go....Baby Legs!
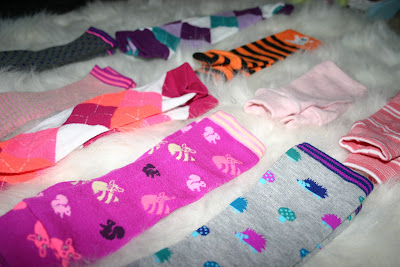
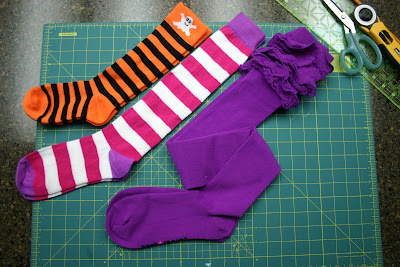
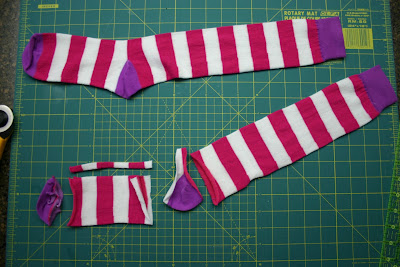
Step 1: Start with any pair of long socks.
(Men's can be used too, these are just as cute for little boys!)
I have found adorable socks in the girls and women's section at Target for as low as $2.50 per pair. What a STEAL!
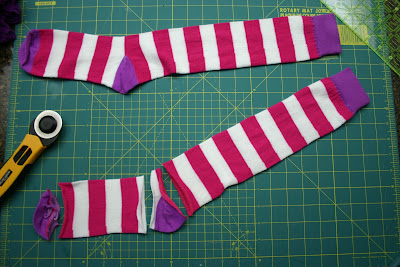
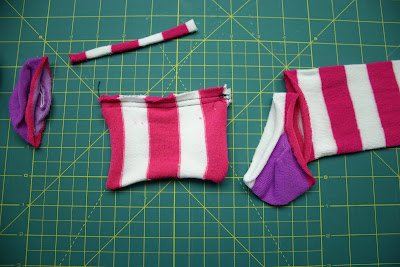
Step 2: Cut off the toe and heel.
Make sure you use scissors or a rotary cutter dedicated to fabric. The more you use scissors on paper the more dull they become, making it so much more difficult to cut fabric.
This will become the cuff at the bottom of the Baby Leg.
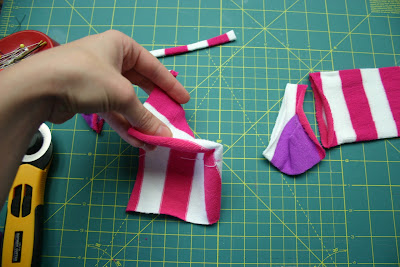
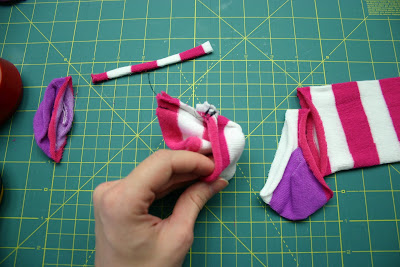
Step 4: Flip the foot piece over so the 'right' sides are together.
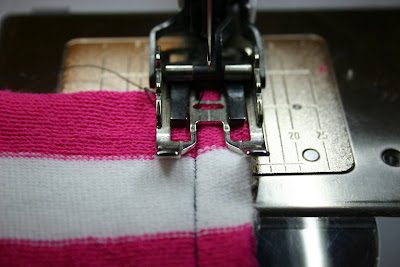
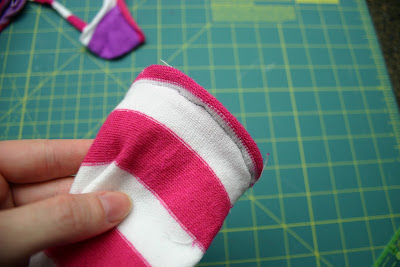
Step 5: Use a basic stitch and sew from one end to the other.
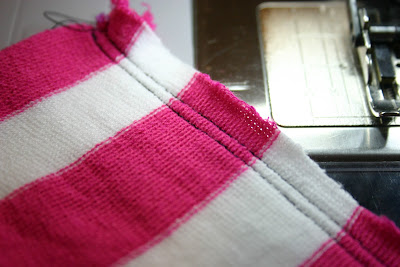
Then do it again between the first seam you just sewed and the edge of the fabric.
This will help stabilize your cuff so you won't have stitches coming out later on.
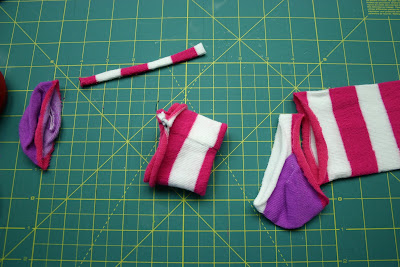
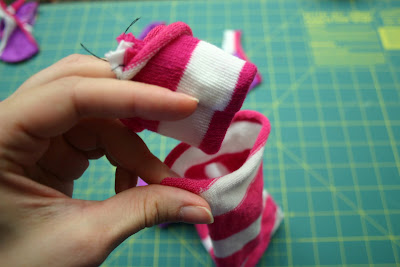
Step 6: Now fold the cuff in half with the 'right' sides on the outside.
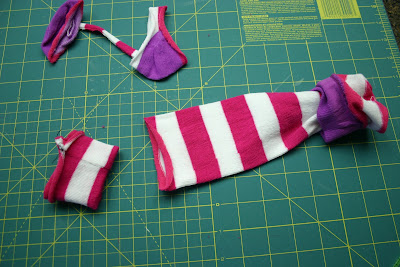
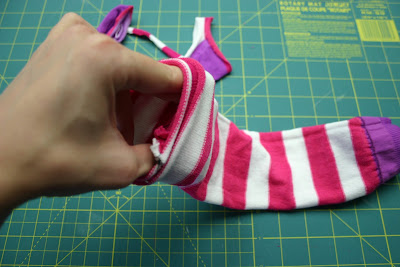
Step 7: Flip the long part of the sock inside out.
Step 8: Now place the cuff inside the tube of the sock where you cut it off in the beginning and line up all the edges and pin around the edges.
This is the trickiest part of the whole thing....socks tend to roll up A LOT and the fabric really likes to slide, especially when you're sewing. It's so important to pin around your sock.
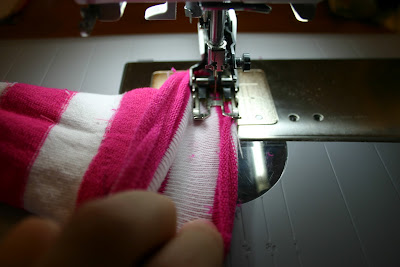
Step 8: Sew all three layers with a basic stitch.
You will sew in one big circle, pulling the fabric as your sew.
Step 9: Trim any and all loose threads so they don't get stuck or wrapped around your baby's sweet little toes.
Step 10: Flip the whole sock right side in and you're done!
Now you have inexpensive, adorable baby legs!
If the Baby Legs are a little long for your little one, just scrunch them up....and oh so cute!
After being up in Minneapolis last weekend and seeing the leaves just starting to change color, made me find the motivation to find some awesome activities for our little ones.
I'm so excited for Kensi to explore with some of these activities...I seriously can't wait!
Songs:
Leaves Are Twirling
(Tune: "Frere Jacques")
Leaves are twirling
Leaves are twirling
All around
All around
They are falling softly
Very, very softly
To the ground
To the ground.
~~~~~~~~~~~~~~~~~~~~~~~~~~~~~~~~~~~~~~~~
Little Leaves
(Tune: "Ten Little Indians")
1 little, 2 little, 3 little leaves
4 little, 5 little, 6 little leaves
7 little, 8 little, 9 little leaves,
blow them all away. WHOOF!
~~~~~~~~~~~~~~~~~~~~~~~~~~~~~~~~~~~~~~~~
Books:
- Red Leaf, Yellow Leaf by Lois Ehlert
- The Leaf Man by Lois Ehlert
- Let it Fall by Maryann Cocca-Leffler
- It's Fall (Celebrate the Seasons) by Linda Glaser
Sensory:
- Go on a nature walk. Talk about the colors you see changing, the noises you hear and the new smells that come with the change of seasons.
- Encourage your child to step on dead brown leaves and listen to their crunchy sound.
- Pick up some leaves from outside and let your child explore with them. You can also put leaves and small sticks in a plastic container to create a sensory table.
Math/Science:
- While on your nature walk, talk about why the leaves change colors and collect other items associated with autumn: acorns, berries, twigs, corn husks, etc. When you are done, sort the leaves and other items according to shape, size, and color.
- Discuss the birds flying in the sky. What formation are they flying in (v-shape)? Why are they flying? Will they return? If so, when?
Art:
- Paint the backside of different sized leaves and use them as a stamp.
- Make a leaf rubbing.
- Paint a picture using orange, yellow, red and green paint to represent the colors of the changing leaves.
Motor Skills:
- Scoop a bunch of leaves into a pile and jump in them.
- Toss a bunch of leaves in the air and try to catch them as they float to the ground.


